In this series, I'll go from start to finish on how to build a
home-theater computer with Raspberry Pi and the OpenELEC XBMC Operating
System. At the end we'll be able to install XBMC plugins to stream videos,
including PBS.
-
Hardware for a Raspberry Pi PBS Streaming Device
-
Installing software for a Raspberry Pi PBS Streaming Device
Overview
In this article, I assume you already have setup
all the hardware you need for a Raspberry Pi. In this tutorial, you will
flash an OpenELEC XBMC Operating System,
configure XBMC to install video addons and themes, and set up your smart
phone as a WiFi remote control.
Operating System
I created a companion video to walk through the steps of flashing an
operating system SD card for the Raspberry Pi.
The first step is to download the operating system image to your
computer. I used the Raspberry Pi OpenELEC images, graciously built by Chris Swan,
available on his
repository. Specifically, I used image 12604
but newer images will likely work just as well or better.
Update: I tried a newer build, but found it incompatible with existing
addons repositories. This shouldn't be an issue after 3.0 is released.
Here I will give the instructions for setting your SD card from Mac OS X.
For other operating systems, the Embedded Linux wiki has a good write-up. Since I
followed the Embedded Linux wiki instructions, my instructions will match
those. Note that even though my Mac has an internal card reader, I got
“permission denied” errors when trying to flash the SD card.
Using an
external card reader/writer  , I was able to flash the SD
card
, I was able to flash the SD
card without any problems.
Extract the OpenELEC image from the zip file. For this tutorial, I'll
assume that you have used the same image as I did and have extracted it to
~/Downloads/OpenELEC/r12604.img.
Next, we need to figure out what device the SD card will be. Open up a
terminal window, as I will walk through how to flash your SD card through the
command line. Then, before you have connected your SD card, we want to see
what devices are currently listed.
Run df -h.
Connect the SD card reader with the SD card inside.
Run df -h again. Compare this output to that of the
previous command output. There should be one additional device name, for
example, /dev/disk3s1. Write this down. We will use this later to flash the
card.t
Next, we need to unmount the partition so that we can overwrite the
disk:
sudo diskutil unmount /dev/disk3s1
Note that unmounting a partition is slightly different than ejecting the
disk. When we unmount, we tell the Operating System that we are not using
that device as a file system anymore, but it keeps a pointer around to the
device so that we can write directly to it as a raw device.
Next, we need to figure out the raw device name so that we can flash it.
Verbatim from the embedded Linux wiki, including a stern warning:
Using the device name of the partition work out the raw device name for the
entire disk, by omitting the final "s1" and replacing "disk" with "rdisk"
(this is very important: you will lose all data on the hard drive on your
computer if you get the wrong device name). Make sure the device name is the
name of the whole SD card as described above, not just a partition of it (for
example, rdisk3, not rdisk3s1. Similarly you might have another SD drive
name/number like rdisk2 or rdisk4, etc. -- recheck by using the df
-h command both before & after you insert your SD card reader into
your Mac if you have any doubts!):
For example, /dev/disk3s1 => /dev/rdisk3
Next, we will write the image to the card using the dd
command. Triple-check that you have the correct disk name and make sure you
have a good backup, because it is very easy to accidently overwrite your data
with the dd command.
sudo dd bs=1m if=~/Downloads/OpenELEC/r12604.img of=/dev/rdisk3
This command will run without any output, working to copy byte-for-byte
the image file to the SD card. Apparently, pressing Ctrl-T (SIGINFO) will
display some statistics, though.
Finally, we can eject the disk. We can then take the card out, plug it
into the Raspberry Pi. If all went well, the Raspberry Pi will boot to
OpenELEC.
sudo diskutil eject /dev/rdisk3
Expanding the SD card /storage partition
Since OpenELEC uses Ext4 for its storage partition, we aren't able to
resize the partition from Disk Utility as one normally resizes partitions on
a Mac. Instead, we need to boot to Linux. The easiest way to do this is to
use GParted. Since they provide a GParted live CD, I will
use that, though any other "live" Linux distribution should work just as
well, so long as it includes GParted.
I tried to edit the SD card partitions from within a VirtualBox virtual
machine, but I was unable to get the SD card to show up from within the
virtualized GParted live CD. Instead, I booted the computer directly to the
live CD.
First, one needs to burn the CD. To do this from a Mac, I
right/control-clicked the iso file and said open with Disk Utility. With the
iso file selected and a blank CD in the drive, click Burn toward the top of
Disk Utility. Once the Press C during startup. (Apple has a nice Support Article explaining
various possible commands during startup.)
Once booted to the live CD, GParted will automatically appear. In the
upper-right corner, there is a drop-down to selected devices. Select the SD
card. Once selected, you should see two partitions and a lot of unallocated
space.
Resize the second, ext4 partition to fill the unallocated space. Then,
click apply to actually make the change on the SD card. Now, you can safely
shut down and remove the GParted Live CD. The SD card should be ready to use
in the Raspberry Pi with lots of space on the storage partition, now.
Configuring the network
I found with the ASUS
USB-N10 wireless adapter, both Raspbmc and OpenELEC were able to use the
wireless card without any additional software. OpenELEC seems to work for a
larger number of chipsets, though. I was using a TP-Link
wireless adapter
wireless adapter, both Raspbmc and OpenELEC were able to use the
wireless card without any additional software. OpenELEC seems to work for a
larger number of chipsets, though. I was using a TP-Link
wireless adapter for my Linux desktop machine, and in my testing it
worked in OpenELEC but not Raspbmc.
for my Linux desktop machine, and in my testing it
worked in OpenELEC but not Raspbmc.
To tell OpenELEC you want to use wireless, go to System → OpenELEC.
This will open a configuration dialog. Go to the Network submenu. The
properties to change for wireless are Network Technology := WLAN and Network
Interface := wlan0.
I set a static IP address so that it would be easier to use the remote
control app on my iPhone. This step is not strictly necessary, though. For
the DNS servers, I'm actually using Google's Public
DNS, rather than that provided by my service provider. It's pretty easy
to remember: 8.8.8.8 and 8.8.4.4. Supposedly, this should make the web
faster, but I'm mostly using it because I don't like the way my ISP
provides search results for mis-typed domain names.
Finally, I typed in the SSID for my home router. I had to type this in,
rather than detect it. Since Raspbmc is
based on a full Gnome environment, it can use network-manager to detect
wireless networks. For this reason, it
might be a better choice than OpenELEC if your wireless card works with it.
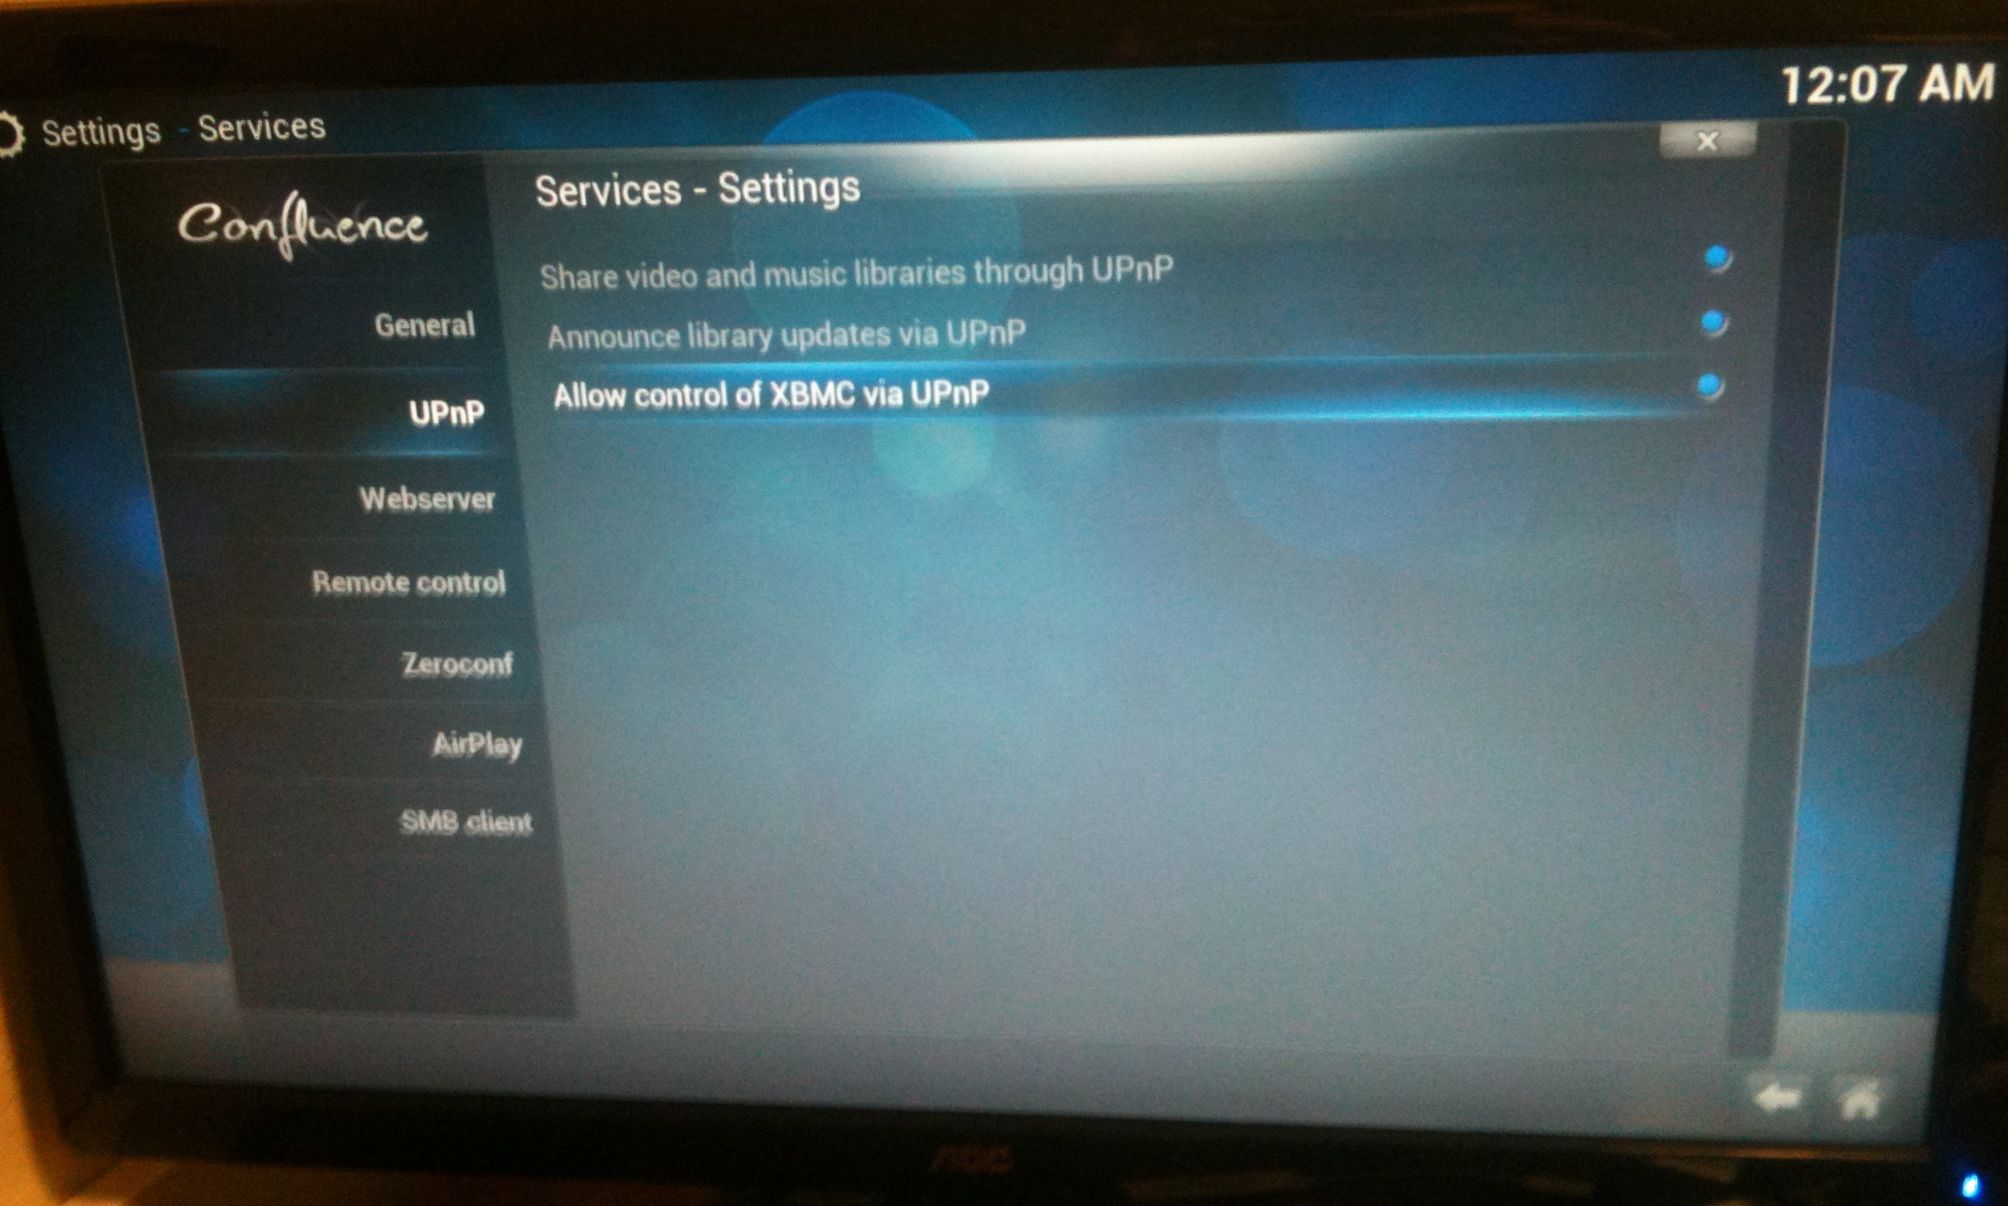
Setup Sharing
To make file transfers easier, I setup file sharing on my Raspberry Pi
through Services Settings -> UPnP. This will also make it easier to use an
app as a remote control, since it will be able to autodetect your Raspberry
Pi.
Similarly, go to Webserver and allow control via HTTP. This will setup a
simple website on your Raspberry Pi so that you can connect to it from other
computers on your network to use the kitchy interface as a remote control. It
will also make it possible to use a dedicated app on your iPhone as a remote
control, also.
Adding Repositories
Since OpenELEC uses a new version of XBMC (Frodo), the official
repositories have few, if any plugins for it. Instead, I added the Passion xbmc repository to my
Raspberry Pi so that I could install extra addons.
Download the
zip file for the Passion XBMC repository
(Right-click, Save target as) to a USB flash/thumb drive. I found this repository and many others listed on the
XBMC wiki.
Even better than saving it to a USB drive, when the Raspberry Pi is on, I can see a share drive from my Mac. I have been saving plugins to the Videos folder, since that is on the much larger "storage" partition we resized earlier with GParted.

Installing addons
After adding the additional repositories, run Add ons -> Video -> Get
more. This will download a list of many different addons available in the
repository. The one I have used most is the PBS app, which streams episodes
available from PBS's website.
The version listed in the repository is currently listed as broken (v2.0.8),
but I was able to install and use v2.0.2
directly from stacked's repository without any problems.
Using iPhone as a remote control
Rather than use a keyboard and mouse, I am using my iPhone as a remote
control over WiFi. To do this, I am using the Official
XBMC Remote app.
The setup is pretty simple. Share your Raspberry Pi via UPnP to allow
autodetect to work. This is most important if you haven't setup a static IP
address. Second, enable the XBMC web server to allow the app to control your
Raspberry Pi with HTTP. Both these are under settings.
While the app isn't anything special, I find that as a simple remote
control, this was a very easy thing to setup. I mostly just use the remote
control part of the app, basically using my phone for arrow keys and the
enter key.